Login
Manual
Topics:GeneralIntroductionGetting started Manager license Credits News feeds (RSS) Press releases Facebook feature Inactivity Common Abbreviations TeamPlayersPositions Play skill caps Player rating Player traits Physical condition Team chemistry Experience Morale Depth Chart Training Staff Coaches Facilities Teamwork Injury report Draft Scout report Roster limitations Transfer Market GameLeagueSeason Rollover Game situations -Pass play -Rush play -Touchdown -Point after Touchdown (PAT) -Two point conversion (TPC) -Field Goal -Punt -Kickoff -Safety -Tackles -Sacks -Interceptions -Fumbles Formations Gamecenter Game settings Playbook Challenges Champ of Champs Cup Friendly Cup Scrimmages Venue of a match Homefield Advantage Hall of Fame Coaches Karma FinancesPlayer salariesSalary Cap GlossaryGlossary |
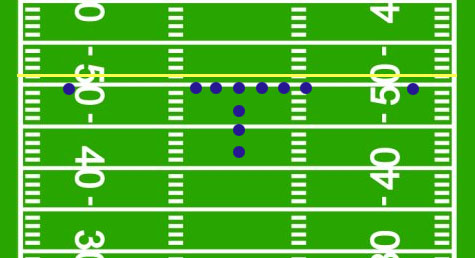
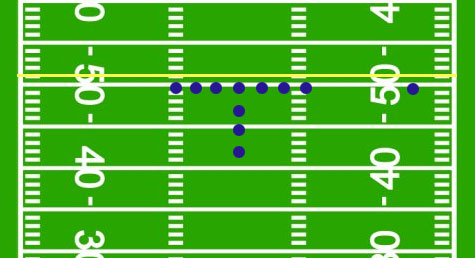
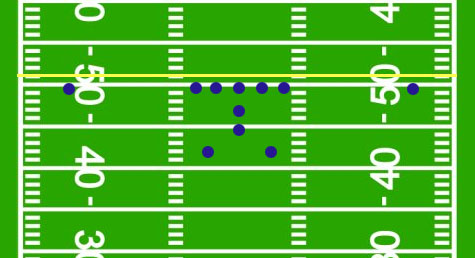
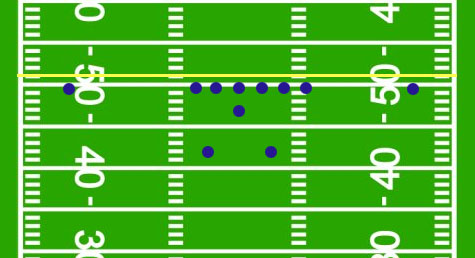
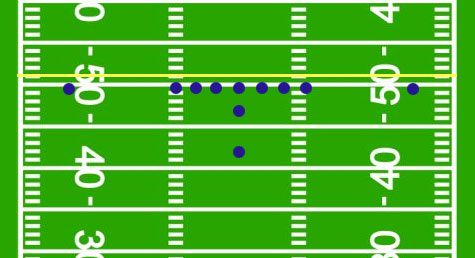
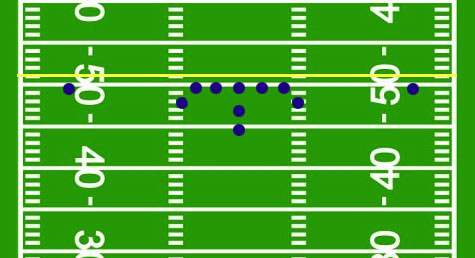
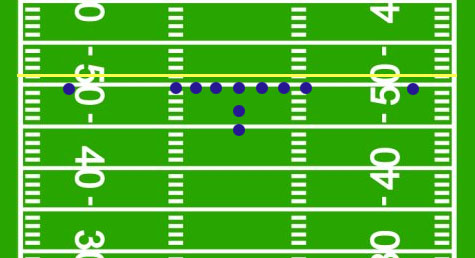
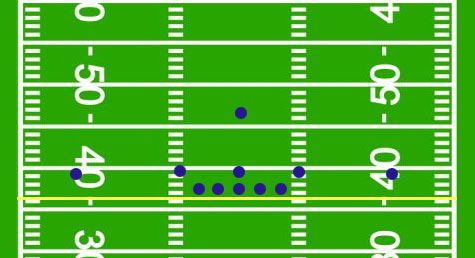
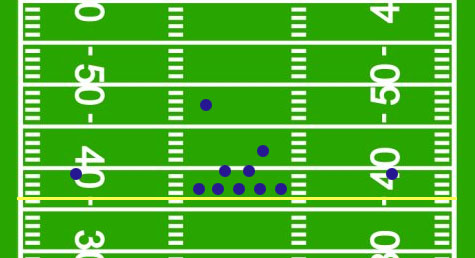
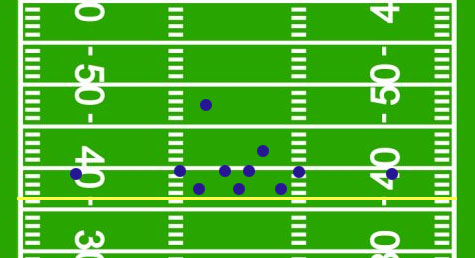
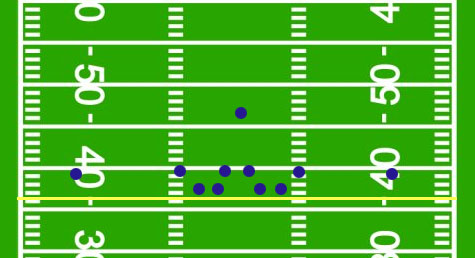
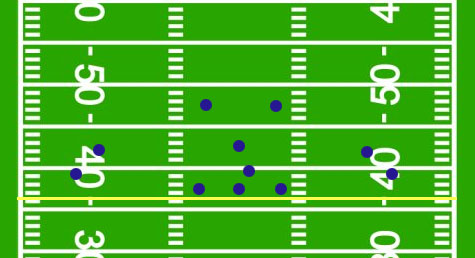
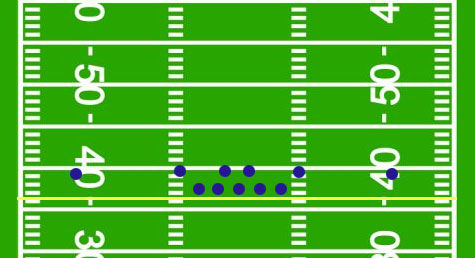
FormationsThis is a short graphical introduction of all possible formations. Offense
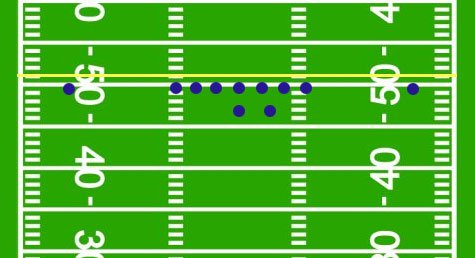
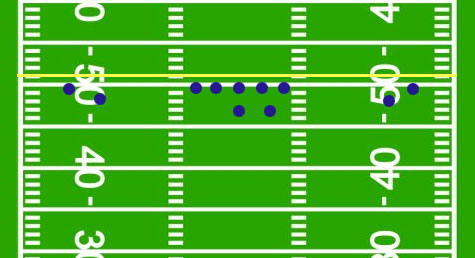
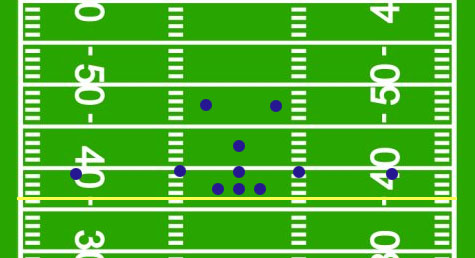
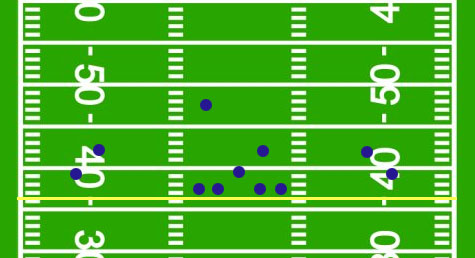
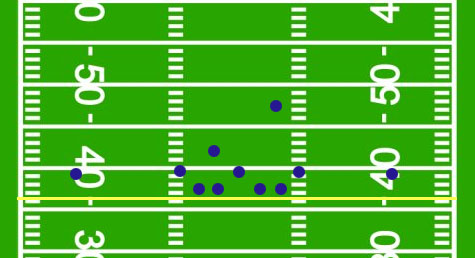
Defense
Pickorder on the engine:
Our user crystalkiddo created this small applet, which could give you a much better idea how these formations pair to each other on the field. Click here to open the applet. |